
Bench seating has become a game-changer for modern living rooms. Unlike traditional sofas that eat up floor space and tie up your layout, benches offer flexible, multipurpose seating that works harder for smaller homes and larger ones alike. Whether you’re furnishing a cozy apartment or filling a sprawling family room, bench seating solutions come in countless styles, from built-in window seats to sleek mid-century frames, from storage-packed designs to upholstered showstoppers. This guide walks you through seven practical bench seating ideas that combine function, style, and smart space planning, helping you choose or build the right solution for your living room.
Table of Contents
ToggleKey Takeaways
- Living room bench seating ideas offer flexible, space-saving alternatives to traditional sofas that work for both small apartments and large family rooms.
- Window benches create functional reading nooks and usable real estate by combining natural light with comfort, requiring 16–18 inch depth and height for optimal ergonomics.
- Upholstered benches add style and softness without a large footprint—choose performance fabrics with at least 15,000 double rubs durability for high-traffic areas.
- Storage benches maximize space by providing dual-purpose seating and hidden storage for blankets, toys, and seasonal décor with safe soft-close lid mechanisms.
- Mid-century modern and industrial bench designs anchor contemporary living spaces with clean lines and exposed materials, working best in loft-style or minimalist interiors.
- DIY bench seating projects cost $80–450 in materials using pocket hole joinery and basic tools, allowing customization while keeping costs a fraction of store-bought alternatives.
Why Bench Seating Works for Modern Living Rooms
Bench seating solves real problems that standard furniture can’t. A bench takes up less visual footprint than a sofa, making tight spaces feel less cramped. It’s also highly flexible: slide it against a wall for casual seating, pull it to a table’s edge, or position it under a window as a reading nook. Benches accommodate unexpected guests without requiring a second chair, and their clean lines suit both minimalist and eclectic interiors.
The practical advantage goes deeper. Benches lack the bulky arms and back cushions that gobble up corners. Storage benches hide blankets, toys, or seasonal decor underneath, and window benches create usable real estate where a chair would just sit. Structurally, a bench distributes weight across a longer base, so it feels stable and doesn’t wobble. From a design perspective, benches work in entryways, living rooms, kitchens, and dining areas, they’re not locked into one function like a sofa.
Window Seat Benches for Cozy Comfort
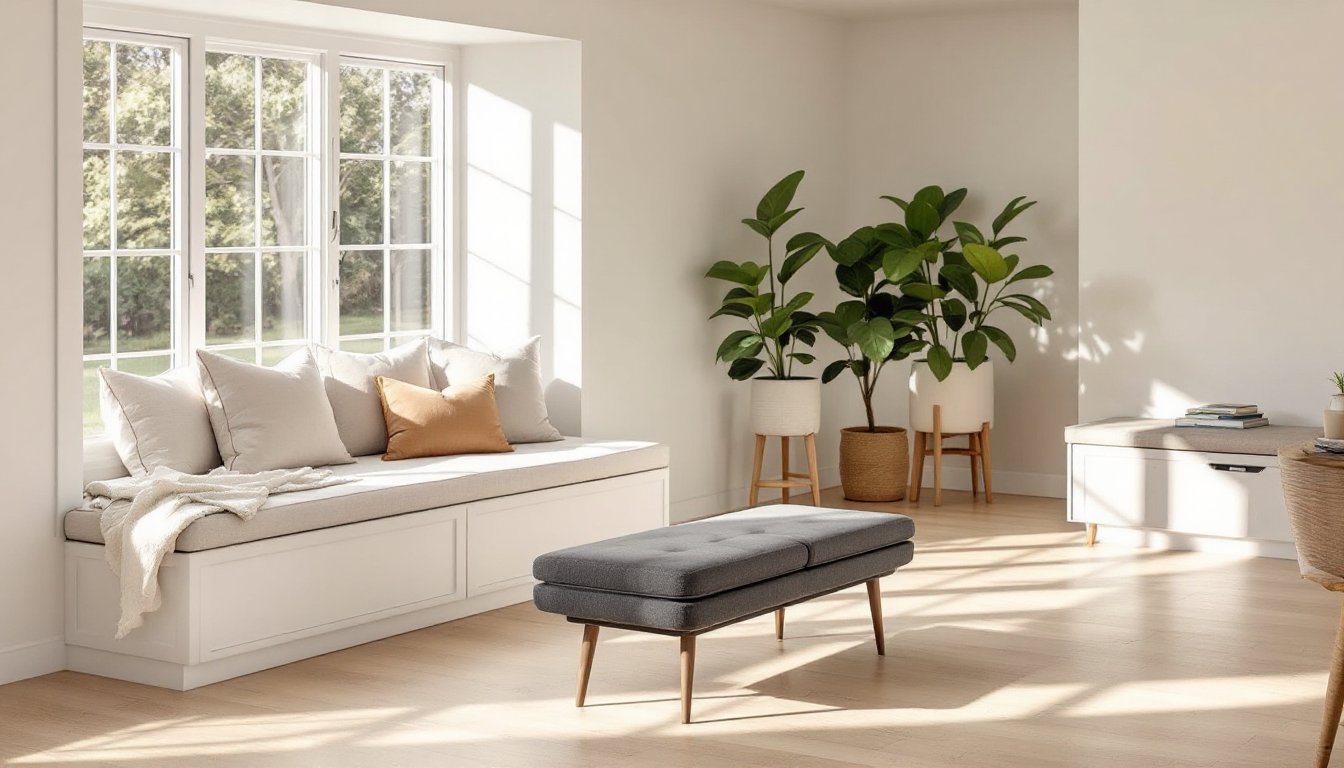
A window bench is the gold standard for living room seating. Natural light, a view, and a cozy corner create an almost irresistible spot for reading or daydreaming. Window benches work in bay windows, picture windows, or any stretch of wall where light streams in during the day.
Designing a Custom Window Bench
Building a window bench requires measuring your window opening precisely. A typical bench depth is 16–18 inches, which leaves comfortable knee space when sitting. The height should be 16–18 inches off the floor, roughly the same as a standard chair seat. Your frame can be simple: a base made from 2×10 or 2×12 lumber (actual depth roughly 9–11 inches) supported by legs or a finished plinth base. Check your local building codes before securing anything to exterior walls or altering window sills: load-bearing considerations matter if you’re building into a structural area.
Top the frame with a cushion (at least 4 inches of foam or batting) wrapped in durable upholstery fabric. Add throw pillows for extra comfort. If your window has a radiator or heating vent underneath, ensure airflow isn’t blocked: most codes require a minimum 6-inch clearance from heat sources. Finishes range from stained wood to painted, but seal or prime first to protect against moisture near windows. Designs like those featured on interior design platforms often pair window benches with built-in shelving above for a polished, integrated look.
Upholstered Benches for Added Style and Function
An upholstered bench brings softness and color to a living room without the footprint of a sectional. Upholstered benches work at the foot of a sofa, as a statement piece in a corner, or pushed against a blank wall. They invite lounging and feel more refined than bare wood or metal frames.
When choosing fabric, consider durability. Performance fabrics (polyester or solution-dyed microfiber blends) resist stains and wear better than natural linen or cotton in high-traffic rooms. Lighter colors show dirt: darker tones hide spills. If the bench will endure pet scratches or heavy use, a tight weave and heavier denier count matter, aim for at least 15,000 double rubs on a Martindale test, the industry standard for home furniture durability. A bench leg style matters too: wooden legs suit traditional or mid-century spaces, while metal legs work modern or industrial looks. Avoid flimsy legs: hardwood or quality plywood frames prevent sagging over time. Most upholstered benches are no deeper than 24 inches, so they don’t monopolize the room.
Storage Benches That Save Space
A storage bench pulls double duty: seating above, storage below. This is ideal for living rooms where clutter lurks, throw blankets, board games, remote controls, magazines. A typical 48-inch-wide bench offers ample seating for two and a hinged lid that opens to a hollow chamber.
When building or buying, check the lid mechanism. A simple piano hinge works but can pinch fingers: a soft-close hinge or gas strut is safer and smoother, especially if children are around. Ensure the interior is divided into compartments or fitted with removable trays so items don’t tumble into a single dark void. Upholstered storage benches hide the utility aspect, passersby see a stylish seat, not a toy box. Solid wood versions (oak, pine, or plywood with a hardwood veneer) last longer than particleboard. Interior dimensions matter: measure what you’re storing before buying. A bench depth of 18–20 inches is standard, but deeper benches suit larger storage needs if your layout allows. Keep the weight distribution in mind: don’t overload one end or the hinges strain.
Industrial and Mid-Century Modern Bench Options
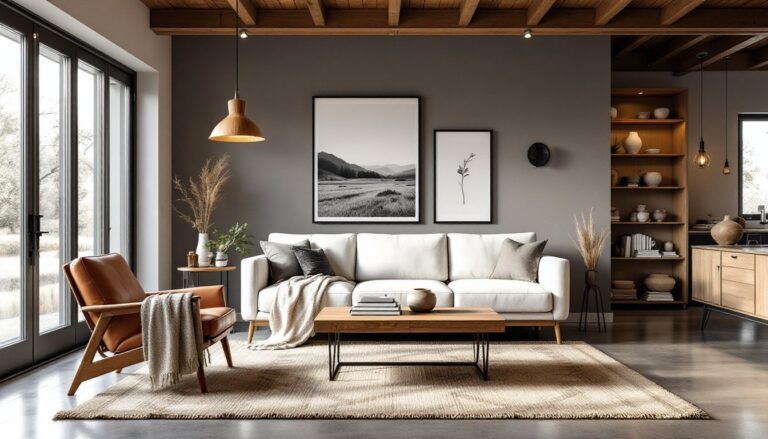
If your living room leans modern, industrial, or retro, a bench with clean lines and exposed materials fits the aesthetic naturally. Mid-century modern benches often feature tapered wooden legs, minimal upholstery, and sculptural frames. Industrial benches embrace metal bases (steel, iron, or powder-coated aluminum) paired with wood or leather seats.
Mid-century designs typically sit lower than traditional furniture, 14–16 inches, which can feel more open and less heavy visually, though less ideal for elderly users who struggle to rise from low seats. Industrial benches often expose joinery or bolts for visual interest: these aren’t hidden, so the frame must be well-finished and structurally sound. Metal-frame benches work best on even floors: any wobbling signals poor welding or out-of-square geometry. Finish options vary: raw or waxed steel shows patina over time, while powder-coated frames resist rust and come in colors. Leather or canvas seats age beautifully on both styles, though leather requires conditioning and canvas can be casual or refined depending on weave and color. These designs fit loft-style apartments or living rooms with concrete, brick, or minimalist decor, and they’re less likely to feel dated compared to heavily ornate furniture. Resources like MyDomaine design guides showcase how modern and industrial benches anchor contemporary living spaces.
DIY Bench Seating Projects for Budget-Conscious Homeowners
Building your own bench costs a fraction of store-bought versions and lets you customize dimensions and finish. A basic 48-inch hardwood bench frame runs $80–150 in materials: upholstery adds another $100–300 depending on fabric choice.
Materials and Tools Needed:
• 2×12 lumber (pine or poplar, planed to ~11″ actual depth) for the seat base
• 2×4 lumber for frame legs or plinth
• Pocket hole screws (1.25″ length) and a pocket hole jig (Kreg jig, ~$30)
• Wood filler, sandpaper (80, 120, 220 grit), stain or paint, polyurethane sealer
• Saw (circular saw or miter saw for crosscutting and angling leg joints)
• Drill/driver, tape measure, square
• Safety gear: goggles, dust mask, work gloves
Basic Steps:
-
Cut lumber to length. A 48-inch bench needs a seat, two end panels, and four legs (or a plinth base). Use a miter saw for square crosscuts: a circular saw works but requires a guide for straight cuts.
-
Build the frame using pocket holes. Pocket holes are invisible from the front and create rock-solid joinery without exposed bolts or dowels. Drill pocket holes on the underside of the seat, then drive 1.25″ pocket hole screws into the leg components. This method is beginner-friendly and doesn’t require clamps.
-
Sand and finish. Start with 80-grit sandpaper to remove saw marks and rough edges, progress to 120-grit for smoothness, and finish with 220-grit for a fine surface. Fill any gaps with wood filler, sand again, then apply stain or paint. Two coats of polyurethane (water-based or oil-based) protects the wood and seals against spills.
-
Add a cushion or upholstery. A store-bought cushion (4–6 inches thick, high-density foam) placed on top looks finished. For full upholstery, wrap fabric around the frame and staple underneath, using a upholstery staple gun and 0.5-inch staples. Foam should extend slightly beyond the wood frame for a polished edge.
Standard safety: wear goggles when cutting and sanding to protect from dust and flying debris. Use a dust mask if sanding indoors: sawdust accumulates quickly. A miter saw is faster and more accurate than a circular saw for crosscutting, but both require the same care, keep hands clear of the blade and use the fence for stability.
This DIY approach works well if you have moderate tool experience and a workshop or garage. Beginners benefit from watching video tutorials and doing a dry fit (assembling without glue or screws) to confirm everything squares up before final assembly. Sources like Apartment Therapy’s budget-friendly makeover guides highlight how DIY seating updates transform a room at minimal cost.