

A whole home generator is one of those big-ticket investments that most people hope they’ll never need, until a storm rolls through and the power goes out. When blackouts hit, a working generator becomes your home’s lifeline, keeping the lights on, the refrigerator cold, and the heating system running. But here’s the thing: a generator sitting idle in your yard is only reliable if you maintain it regularly. Like any piece of equipment, home generator maintenance requires consistent attention. Skipping maintenance doesn’t just shorten your generator’s lifespan, it can leave you powerless when you need it most. This guide walks you through the essential maintenance tasks that keep your backup power system ready to work.
Table of Contents
ToggleKey Takeaways
- Regular home generator maintenance prevents costly failures and ensures your backup power system works when you need it most during outages.
- Change oil every 12 months for standby units and every 50–100 operating hours for portable generators, and inspect air filters every six months to avoid engine damage.
- Run your generator under load for 20–30 minutes monthly to catch starting problems, fuel issues, and electrical faults before an actual power failure.
- Gasoline degrades within 30 days and absorbs moisture, so use fuel stabilizer for storage and drain the fuel tank before long-term storage to prevent carburetor clogging.
- Schedule annual professional service to perform load tests, battery checks, transfer switch verification, and fuel system cleaning that homeowners cannot easily handle alone.
Why Regular Generator Maintenance Matters
Your whole home generator is a complex machine. It has an engine, fuel system, cooling system, and electrical components, all working together. Dirt, stale fuel, moisture, and debris are the silent enemies of generator longevity. A unit that’s never run might fail when you flip the switch. One that runs once a year without proper maintenance can develop rough operation, hard starts, or complete shutdown during a critical outage.
Proper maintenance does several things: it catches small problems before they become expensive failures, keeps the engine clean and efficient, and ensures the fuel system remains stable and ready. Most manufacturers recommend specific maintenance intervals, typically every 12 months or after a certain number of runtime hours. Following those intervals isn’t just a suggestion: it’s what keeps your warranty intact and your backup power reliable.
Homeowners who prioritize generator upkeep avoid that sinking feeling of pressing the start button during a storm and hearing nothing but silence. As part of a broader Yearly Home Maintenance Checklist:, generator maintenance belongs on every homeowner’s radar.
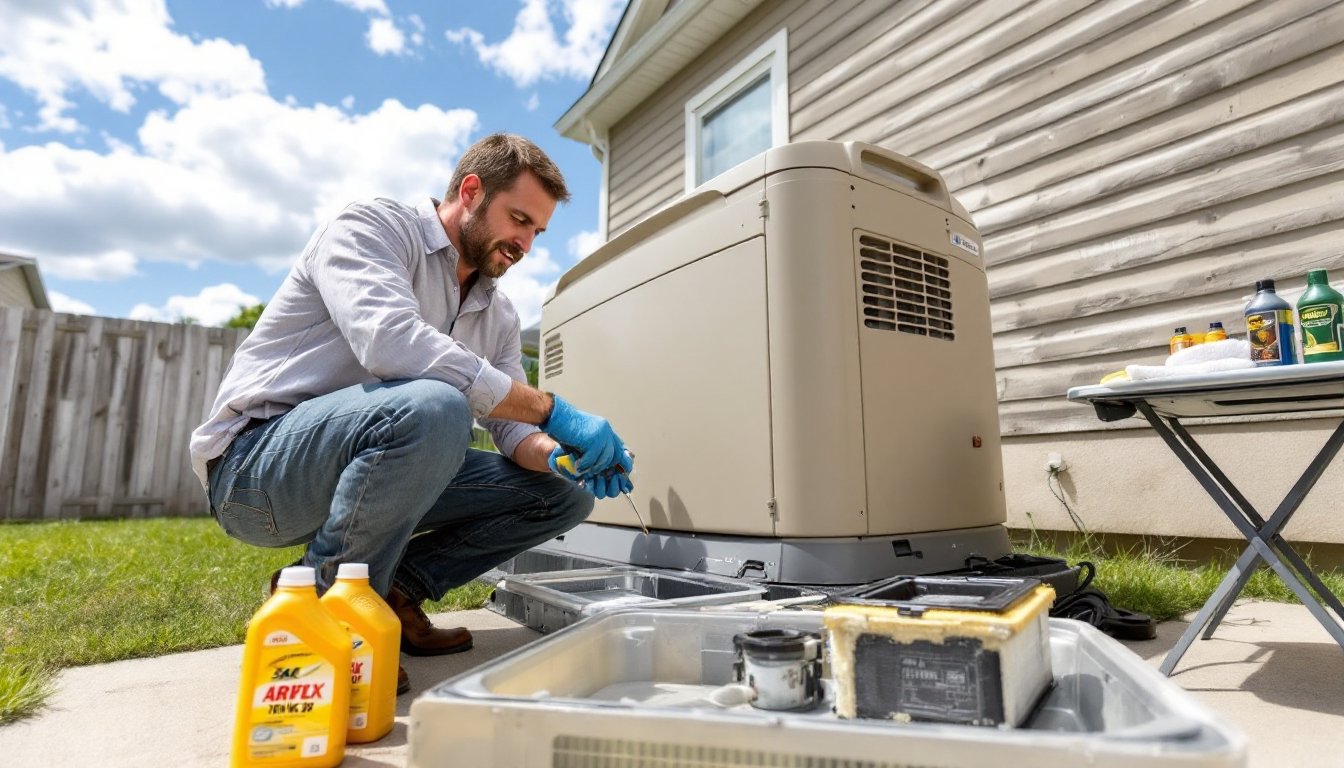
Check and Change the Oil
Just like a car engine, a generator engine needs clean oil to run smoothly. Oil lubricates internal moving parts, reduces friction, and removes heat. Dirty or low oil causes bearing wear, engine sludge buildup, and eventually, catastrophic failure. Checking and changing the oil is your first line of defense.
Start by consulting your generator’s owner manual for the correct oil type and capacity. Most standby generators use SAE 10W-30 or 15W-40 synthetic or conventional oil, but some models differ. Before checking the level, let the engine cool for at least five minutes after running. Locate the dipstick (usually a bright-colored handle on the side of the engine), pull it out, wipe it clean with a lint-free rag, reinsert it fully, then pull it again to read the level.
The oil should sit between the min and max marks. If it’s low, add the correct grade until it reaches the max line, but don’t overfill, as this causes blow-by and damaged seals. For oil changes, the interval depends on your generator type and runtime. Standby units running for a few hours yearly might need oil changes every 12 months: portable units used regularly need changes every 50 to 100 operating hours. Drain old oil into a drain pan (not the ground or storm drains), replace the oil filter if your model has one, and refill with fresh oil.
Inspect and Replace Air Filters
A clogged air filter starves the engine of oxygen, causing poor combustion, loss of power, and increased fuel consumption. Inspecting and replacing the air filter takes minutes and costs just a few dollars, far cheaper than an engine rebuild.
Locate the air filter housing on your generator’s engine (usually a black plastic or metal box with clips or bolts). Open it carefully and pull out the filter. If it’s visibly dirty, caked with dust, or discolored, it needs replacement. A new engine air filter costs $5 to $20 depending on your generator model. Keep a spare on hand for quick swaps.
For standby units, inspect the air filter every six months. For portable generators or models in dusty environments, check monthly. Replacing the filter annually is standard practice. Some generators have reusable foam filters instead of paper ones, these can be cleaned by gently rinsing with water and mild soap, then air-drying completely before reinstalling. Never operate the generator without an air filter: unfiltered air allows dirt straight into the engine cylinders, causing rapid wear. Installing a new filter is as simple as sliding it into the housing and closing the cover.
Test Your Generator Monthly
A generator that’s never run is a generator with surprises waiting. Monthly testing catches problems early, like an engine that won’t start, spark plug fouling, or electrical faults, before you face an actual outage. Set a calendar reminder for the same day each month.
Run your generator under load (not just idle) for 20 to 30 minutes each month. “Under load” means it’s actually powering something: plug in a space heater, several lights, or a power tool. Idling the engine without load leaves unburned fuel and moisture in the combustion chamber, which leads to deposit buildup and starting problems. A monthly run under load cleans the engine, exercises the transfer switch (if you have an automatic standby unit), and confirms everything’s working.
Before starting, check the fuel level and oil. If fuel has been sitting for more than a few months, it may have degraded. Stale fuel won’t ignite properly and leaves gummy residue in the carburetor. This is where fuel stabilizer comes in: adding fuel stabilizer (like Sta-Bil or similar products) to fresh gasoline extends fuel life to six months or longer. Pay attention during the test run: listen for unusual noises, watch for leaks, and check that lights come on and appliances run normally. If the generator doesn’t start, makes strange sounds, or runs rough, troubleshooting or a professional service visit is needed before relying on it during an outage.
Maintain Fuel System Health
The fuel system is where many generators fail because fuel isn’t stable forever. Gasoline degrades, especially gasoline with ethanol, which absorbs moisture from the air. Within 30 days, fuel starts breaking down: by 90 days, it’s often too degraded for reliable operation.
Here’s the fuel maintenance protocol: Store gasoline in approved, sealed containers away from direct sunlight and heat. Add fuel stabilizer when you fill the container if you’re storing fuel for more than two weeks. For generators used infrequently, drain the fuel tank and carburetor before long-term storage (more than a month) to prevent gum and varnish buildup that clogs the fuel filter and injectors.
Many generators have a fuel shutoff valve below the tank. Before storage, close this valve, then run the engine until it dies, this empties fuel from the carburetor. When you’re ready to use the generator again, open the valve, and you’ll likely need to crank the engine a few times before fuel reaches it. Check the fuel filter (usually a clear plastic bowl with a drain screw at the bottom) every six months. If it contains sediment or water, drain it and rinse, or replace it if it’s damaged. Winterizing a generator for cold storage includes stabilized fuel or complete drainage, consult your manual for specifics based on your local climate. Winter generators deserve extra attention, much like other Winter Home Maintenance checklists recommend for your entire home.
Schedule Professional Service Annually
There’s a limit to what DIY maintenance covers. Professionals have diagnostic tools, replacement parts, and expertise to catch issues a homeowner might miss. At minimum, schedule a professional annual service, especially if your generator hasn’t been serviced recently.
A professional technician will do a full inspection: testing the battery (for units with automatic start), checking all electrical connections, verifying transfer switch operation, running load tests, and inspecting the cooling system. They can handle fuel system cleaning, spark plug replacement, and carburetor servicing, tasks that require specialized tools or knowledge. For standby units, many manufacturers recommend professional service every 12 months or every 200 operating hours, whichever comes first.
Costs vary by region and generator type, but expect to budget $200 to $500 for annual service. This isn’t just maintenance: it’s insurance. A technician catches early signs of wear before they become failures. They’ll also ensure your unit complies with local codes and operates safely. If you’re building a broader Home Maintenance Plans strategy, including professional generator service keeps your entire home’s critical systems in check. Expert resources like Bob Vila’s home improvement guides and Popular Mechanics’ generator maintenance tips offer additional context for what professionals typically perform.
Conclusion
Home generator maintenance isn’t glamorous, but it’s essential. Oil changes, filter replacements, monthly testing, fuel management, and annual professional service keep your backup power system reliable. The time you spend maintaining your generator now is time you won’t spend scrambling during an outage. Start with a checklist, stick to it, and your generator will be ready when you need it most.